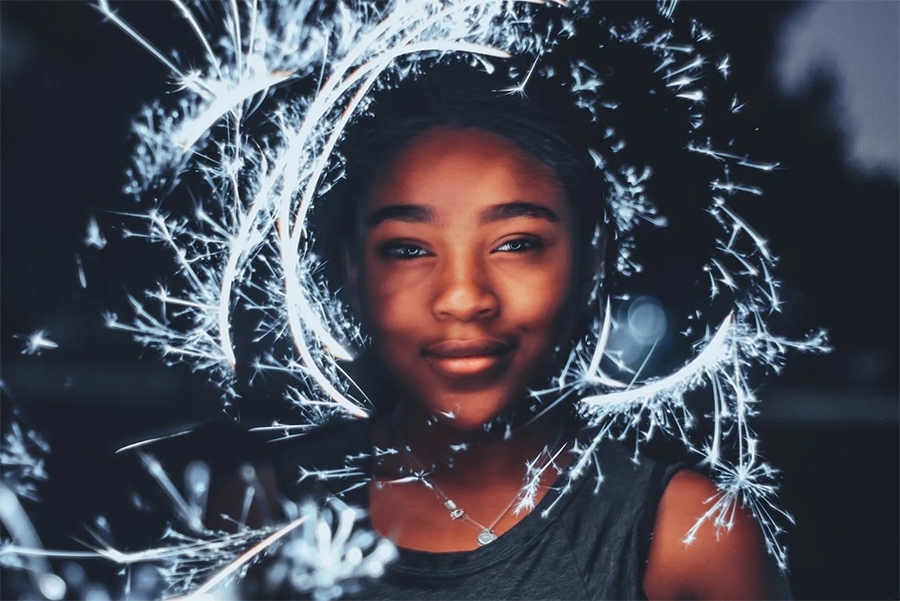
Essential advice to shoot your best ever portrait photos
Portrait photography tips can run the gamut from simple tweaks to your camera settings to the seemingly impossible task of getting children to stay still.
Although many photographers upgrade to a decent DSLR or mirrorless camera to give them more control when they take family portraits or pictures of friends, getting great shots of people is always a challenge.
The difference between amateur and professional portraits can be vast. So we’ve compiled this list of 14 of the most important portrait photography tips for any photographer to know.
We’ll start off with the basics on aperture, shutter speed and lens choice, then move on to focusing and photo composition techniques, before showing you how to use natural light and reflectors to dramatically improve your results.
The helpful advice below will help you become a better portrait photographer
We’ll then discuss some of the more advanced portrait photography tips, such as the benefits of using flashguns and other accessories when shooting portraits.
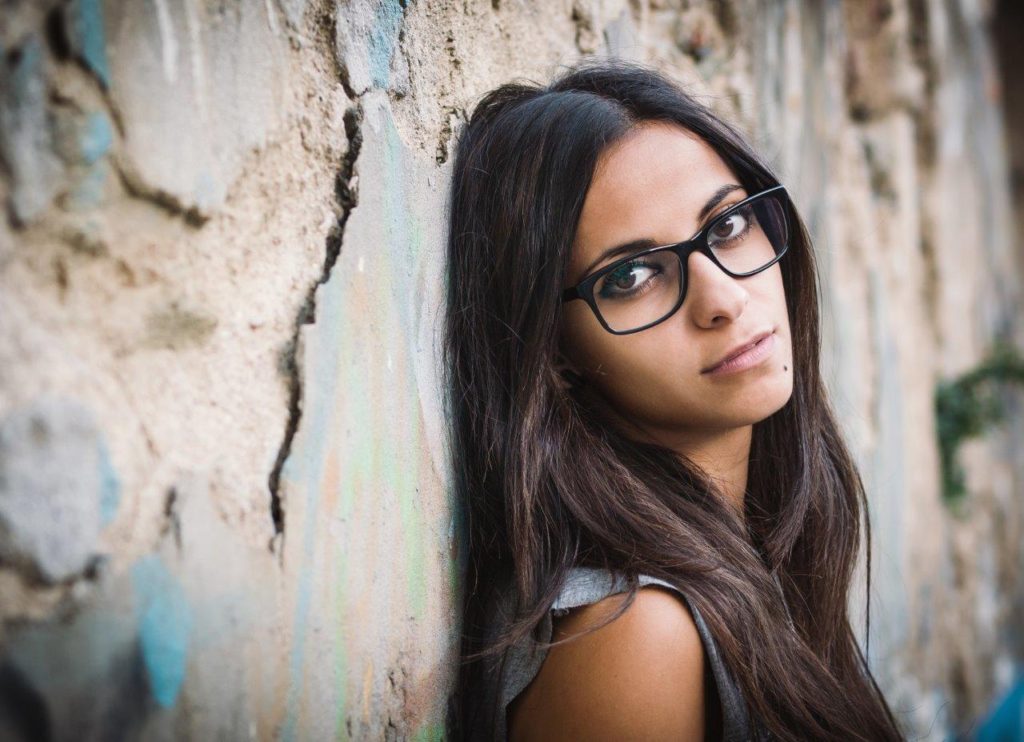
Whether you’re taking portraits of your friends or you’ve been commissioned to photograph a family, and whether you’re shooting in a pristine studio or outside in your local park, the helpful advice below will help you become a better portrait photographer.
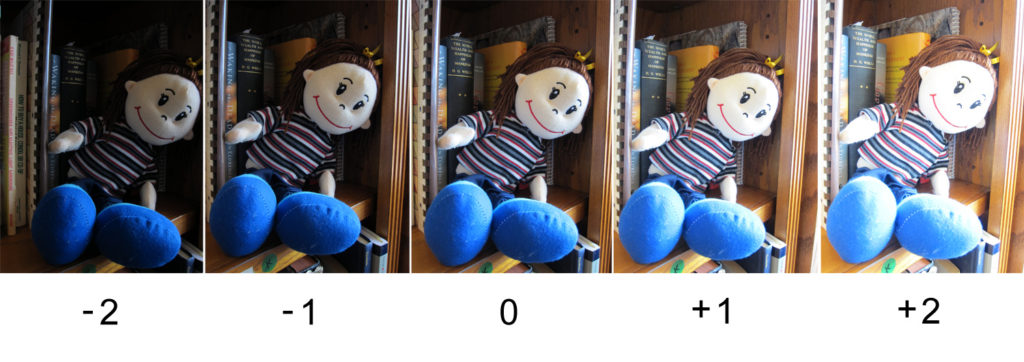
1. When to use Exposure Compensation During Photography
While the camera has taken a balanced reading for the scene, it’s left the model too dark in the frame
Dialling in an exposure compensation of +2.3 stops, it has correctly exposed the face, but some background details are blown out. That’s fine, we can’t have it both ways…
While the camera has taken a balanced reading for the scene, it’s left the model too dark in the frame
Dialling in an exposure compensation of +2.3 stops, it has correctly exposed the face, but some background details are blown out. That’s fine, we can’t have it both ways…
Your camera’s metering system plays a vital role in picture-taking. It works out how much light should enter the camera to make a correct exposure. It’s very clever, but it’s not completely foolproof. The problem with multi-zone metering systems is that it takes an average reading, and this reading is assumed to be a midtone, or in other words, halfway between white and black.
More often than not this assumption comes out right, but a metering system can struggle when a frame is dominated by areas of extreme brightness or darkness.
When shooting portraits, light skin tones can easily trick the camera into underexposing the shot. You’ll notice this more when shooting full-face photos or when there’s lots of white in the scene – brides at weddings are a prime example.
This can be quickly corrected though with your camera’s Exposure Compensation controls. To begin with, try dialling in up to +1 stop of positive Exposure Compensation to lighten up people’s faces. Review your shots, and if you feel you they need to be lightened further, increase this further.
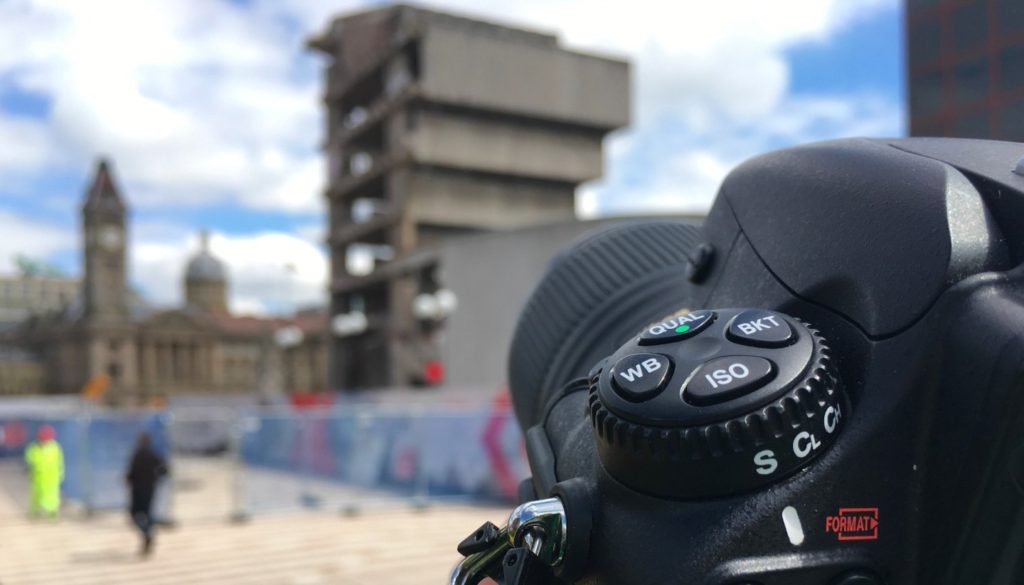
2. Aperture Advice For Photography
Fast lenses are ideal for portraits. An aperture of f/1.4 has nicely blurred the background and isolated our subject…
…whereas an aperture of f/13 has bought the background into sharp focus
Fast lenses are ideal for portraits. An aperture of f/1.4 has nicely blurred the background and isolated our subject…
…whereas an aperture of f/13 has bought the background into sharp focus
When shooting portraits, it’s best to set a wide aperture (around f/2.8-f/5.6) to capture a shallow depth of field, so the background behind your subject is nicely blurred, making them stand out better.
Shoot in Aperture Priority mode to control depth of field; in this mode your DSLR will helpfully set the shutter speed for a correct exposure.
Specialist portrait lenses tend to have even wider maximum apertures (from f/1.4 to f/2.8) in order to blur backgrounds further.
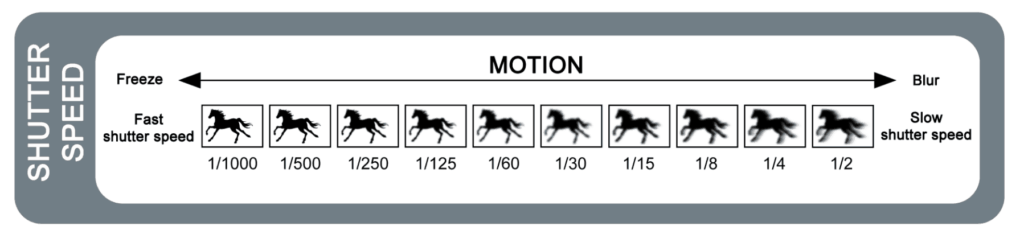
3. Shutter Speed Settings
When setting shutter speed, factor in your lens’s focal length otherwise camera-shake (and blurred results) will become an issue.
As a general rule, make sure your shutter speed is higher than your effective focal length. For example, at 200mm use a 1/250 sec shutter speed or faster.
This also means you can get away with slower shutter speeds when using a wide-angle lens – such as 1/20sec with an 18mm focal length.
While it won’t help if your subject is moving around quickly, don’t forget to use your camera’s anti-shake system. While some camera systems have this built-in around the sensor, of camera systems prefer to have the system in the lens – the benefit being that you can see the effect in the viewfinder.
Not every lens will feature this technology though, but if you have it – use it. You’ll be able to shoot handheld at much lower shutter speeds than you would otherwise normally be able to do and still come away with pin-sharp shots.
4. Increase your ISO
People move around a lot as they’re photographed, not to mention blink and constantly change their facial expressions – and there’s nothing worse than a photo of somebody half-blinking or gurning instead of smiling!
To avoid these problems, and to prevent motion blur appearing, you’ll need to use a fast shutter speed.
This will also help to ensure sharp shots and avoid camera-shake because more often than not you’ll be shooting portraits handheld.
While in Aperture Priority mode and maintaining a wide aperture, to increase your shutter speed simply increase your ISO (from ISO100 to ISO400, say).
In low light (indoors and outside), you may need to increase it to ISO1,600, 3,200 or even 6,400. A little grain is infinitely better than a blurry, useless photo.
5. Lens choice
Your choice of lens has a big impact on your portrait photography. For portraits with visual impact a wide-angle lens is a must. Shooting from a low angle will make your subject taller than they actually are. This is a great technique for fooling the eye and changing the perspective of objects and people. However, be careful not to go too close, as you might see some distortion, which isn’t flattering at all! To add even more drama to a wide-angle shot, simply try tilting the camera to an angle.
When using a medium telephoto such as 85mm or 105mm, the model is still the main subject in the scene, but the background plays an important part in the image – the steps in the shot above appear out of focus and act as another point of interest. Always pay attention to what’s going on in the background.
A telephoto lens like a 70-200mm f/2.8 is one of the best tools for creating stunning portraits. Enabling you to zoom in closer to focus more on your subject, you can then reduce the amount of background and foreground distractions on display.
6. Creative Compositions During Photography
Hope You liked Our Article
To read more similar articles keep checking our blog or follow our social media pages to keep updated.
If you have an photography enquiry for your business please contact us at creatives@creativepercept.com or call +971 4 345 6606